Purple potato and crunchy lentil Salad (Katchumber Salad inspired by Cookbook INDIAN-ish

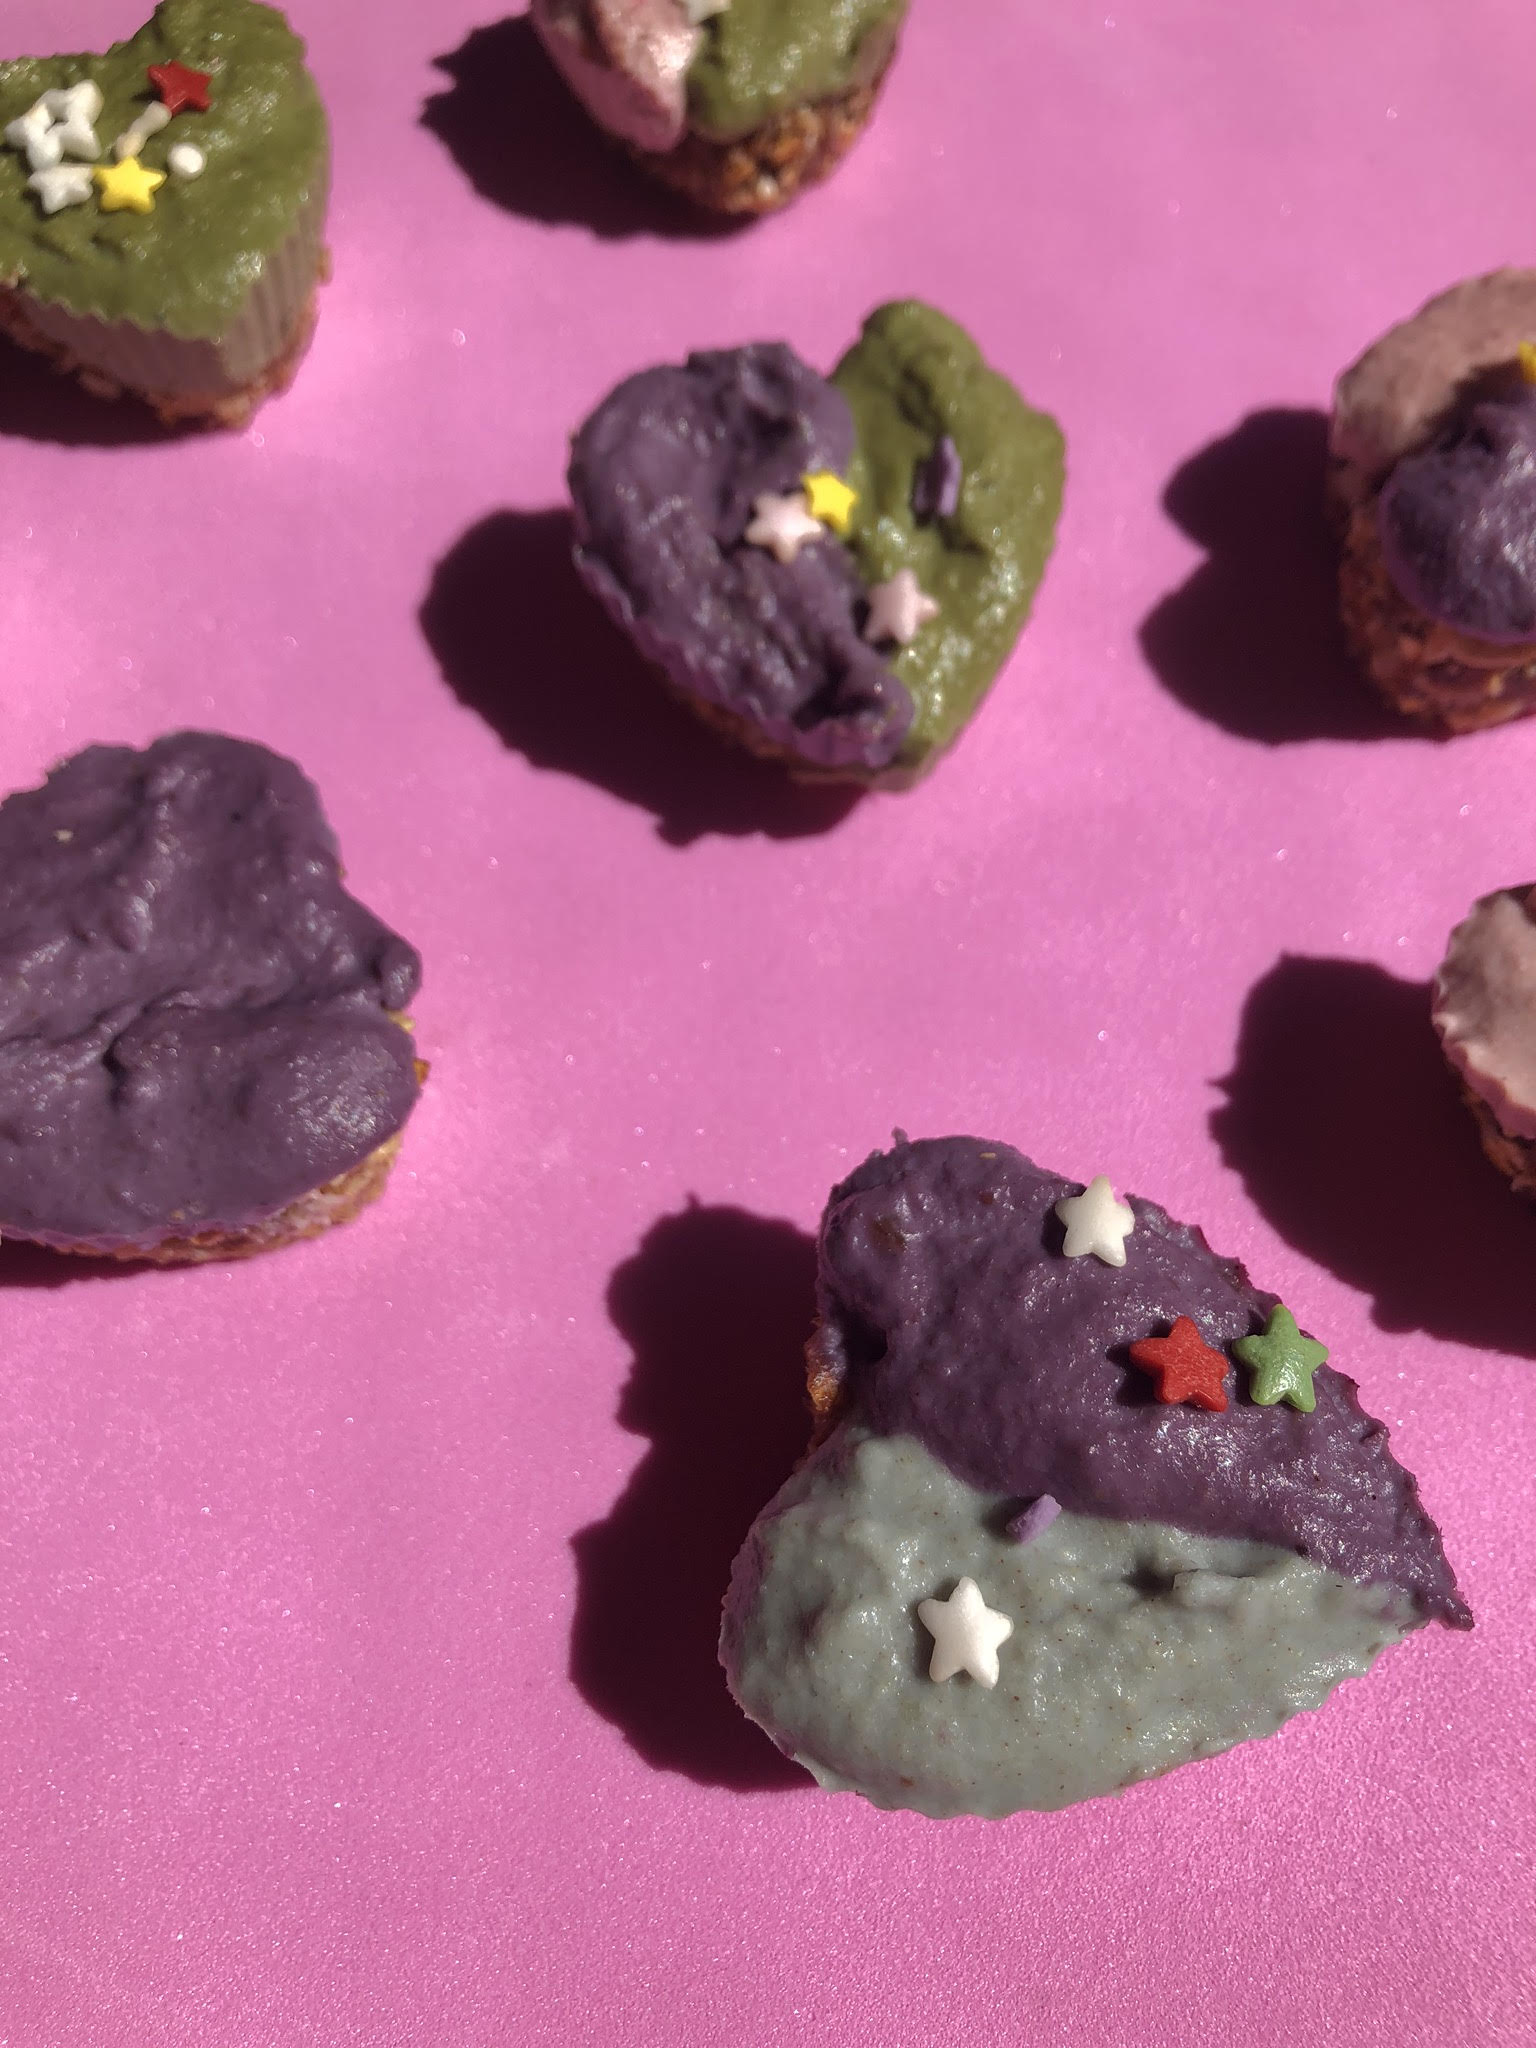
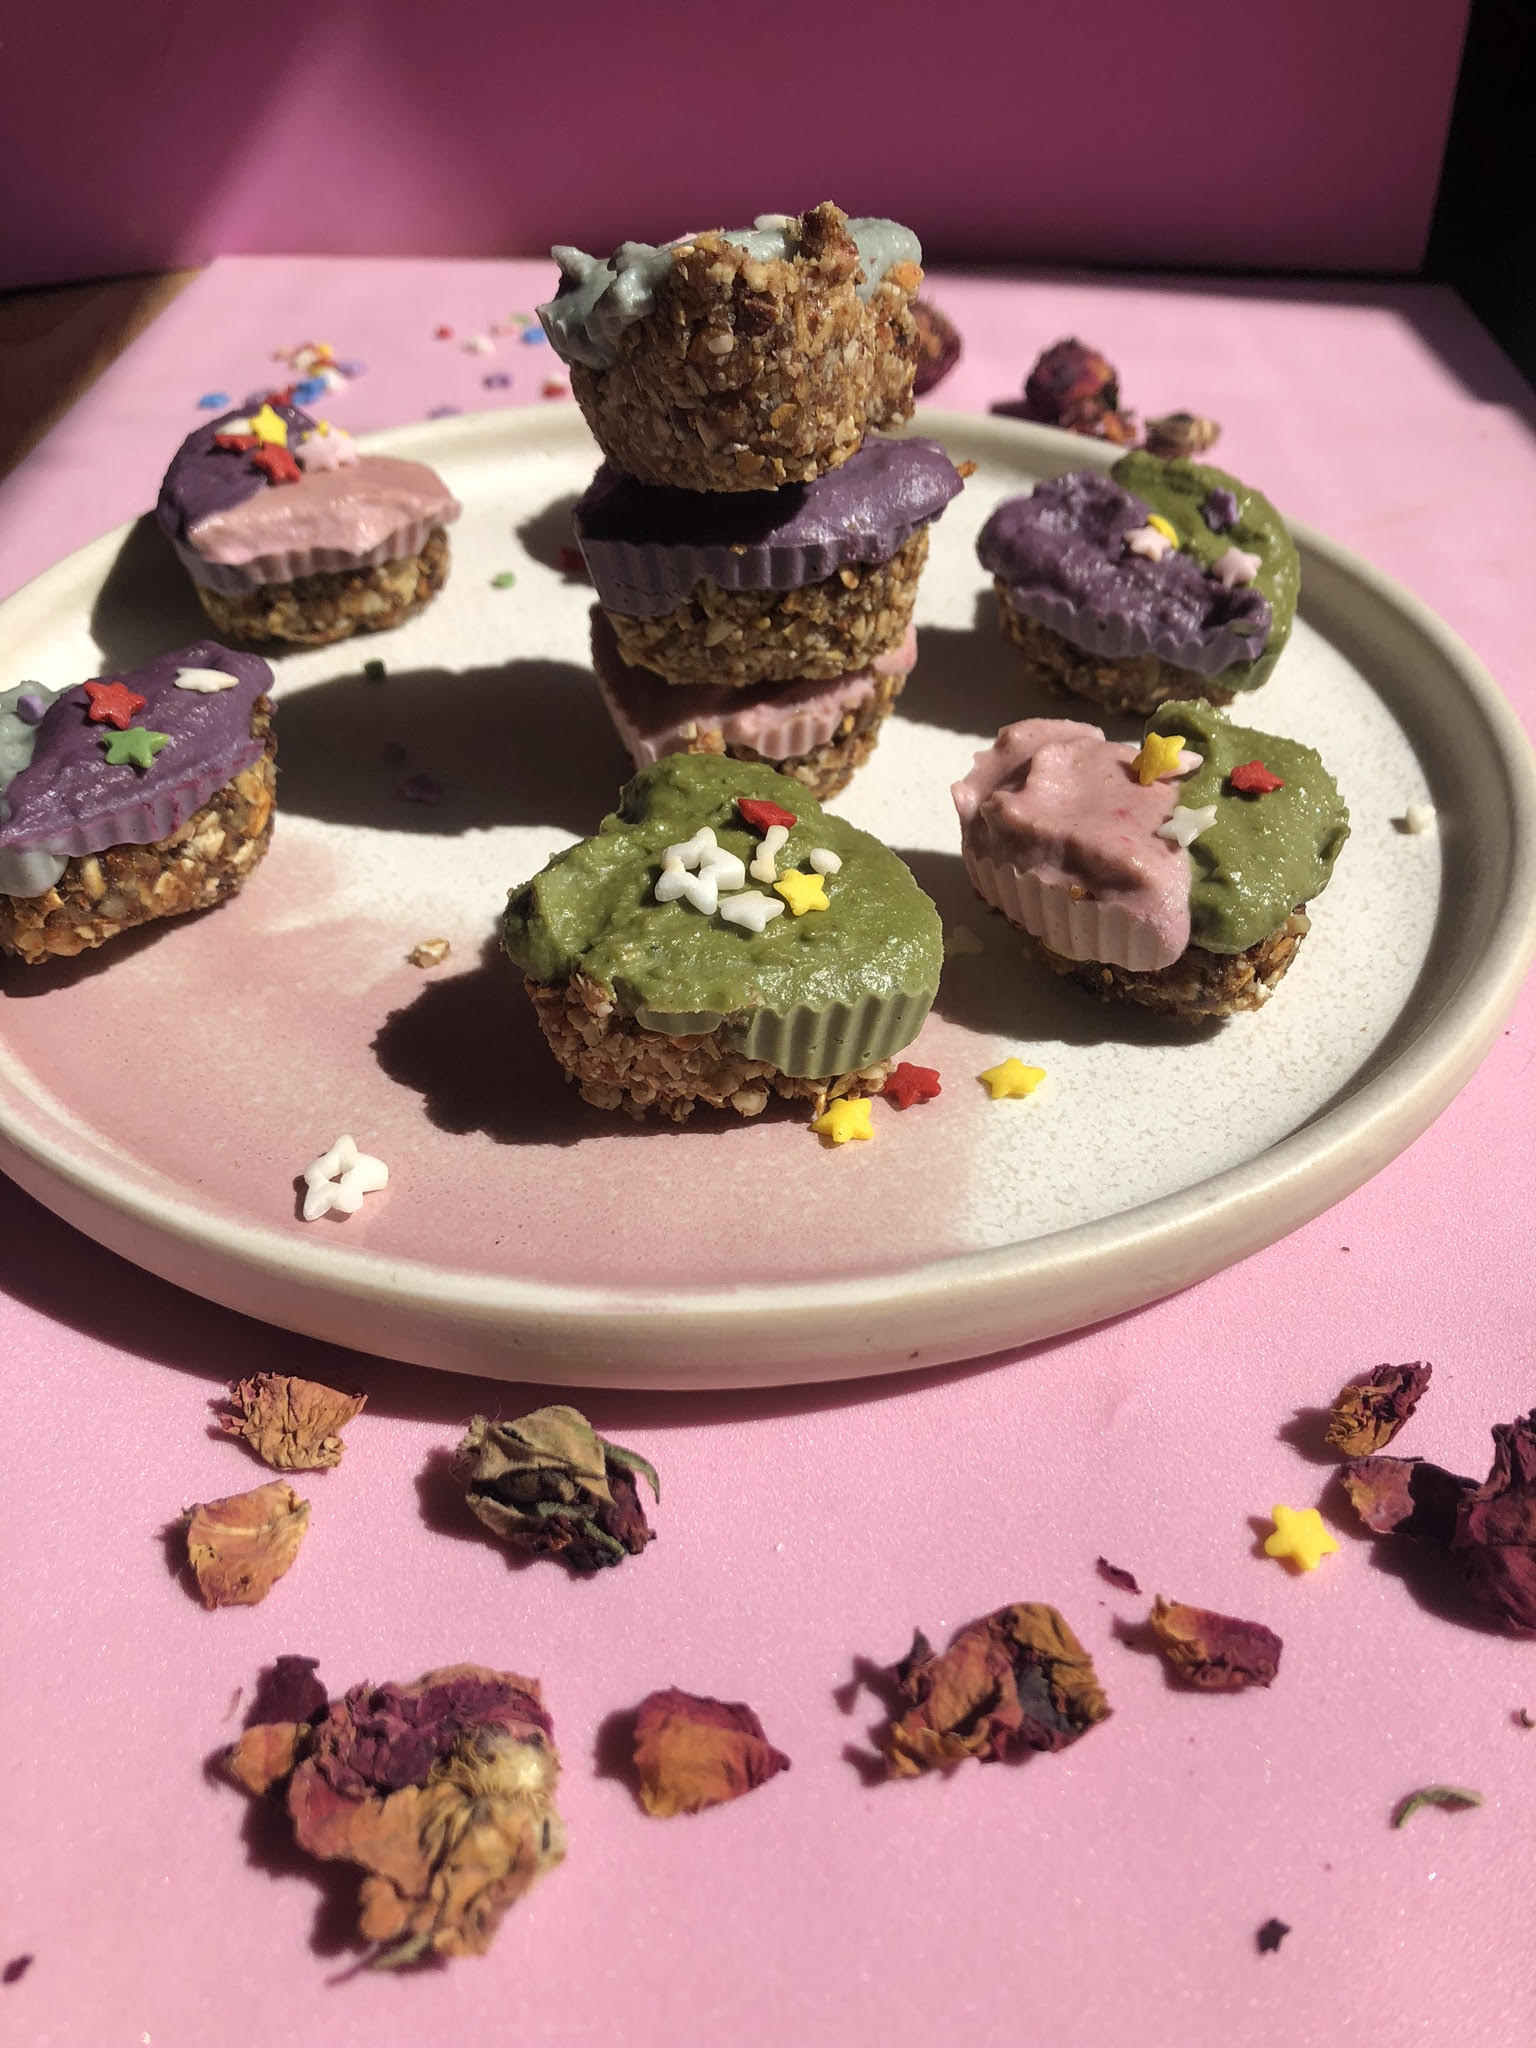
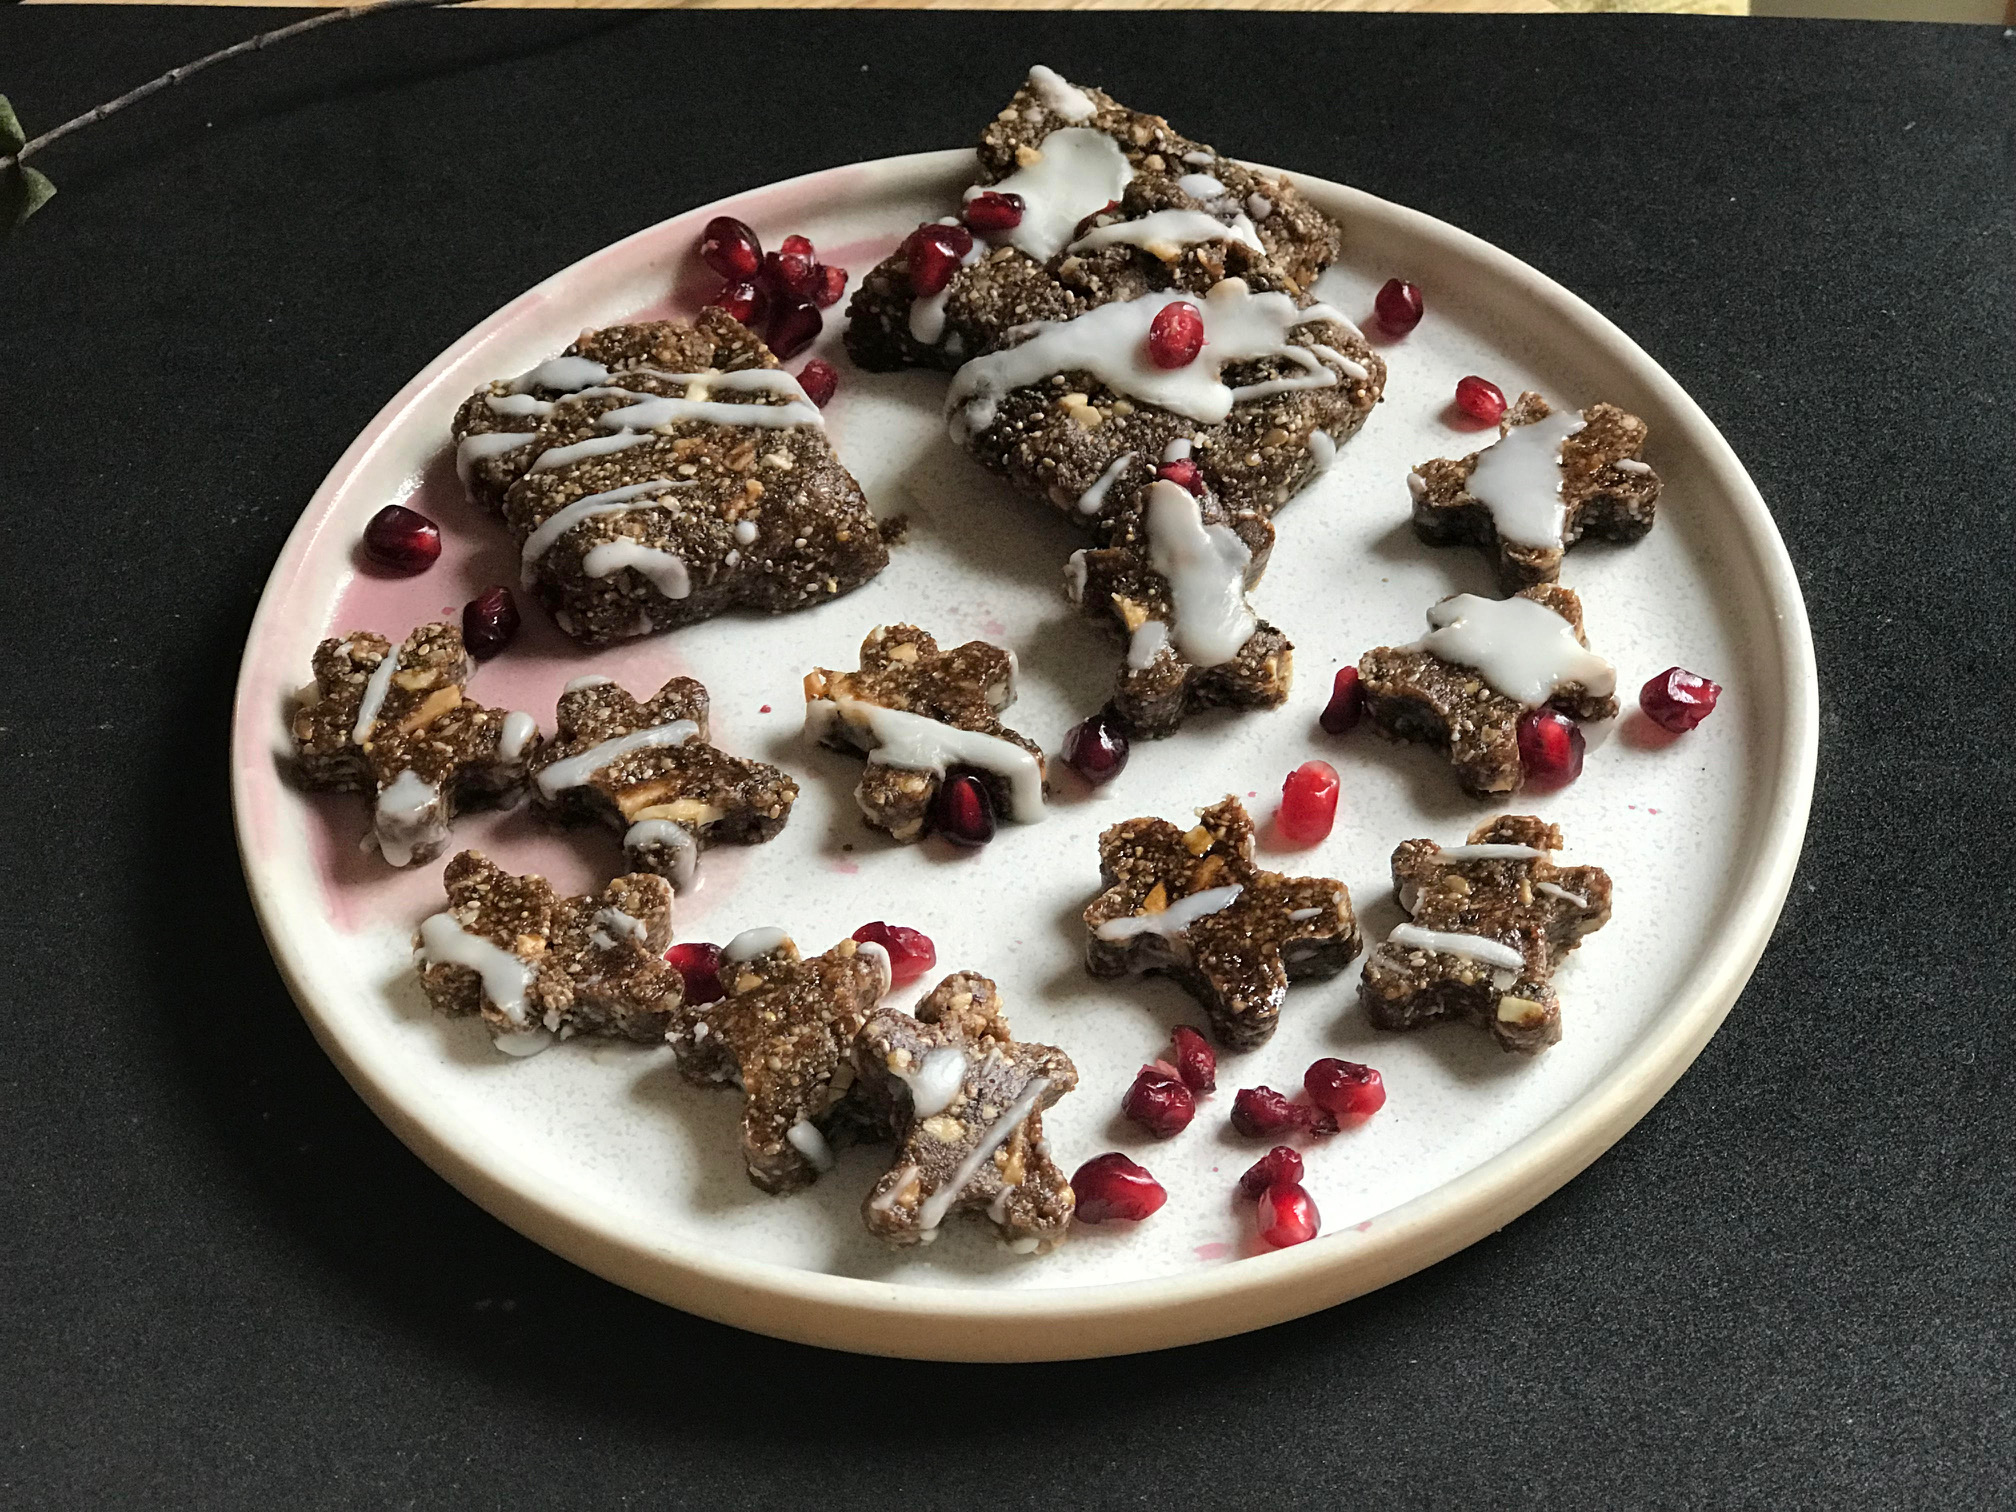
indian food can be a hard sell for children, but it can also be a really fun way to introduce new an vibrant spices. I love Priya Krishna’s new Cookbook, INDIAN-ISH, because it’s excatly that! With recipes like Roti pizza the breakdown of each Indian spice, even how to cook rice, INDIAN-ish is a must! I choose to riff a bit on her Katchumber salad with mung beans and add a purple sweet potato and cook the beans to almost al-dente. The mini-chefs were a bit hesitant at first, but loved the sweetness of the potato, tangy tomatoes, and the crunchy mung beans! Served with a side of Peanut Chutney.

Purple Potato and Crunchy Lentil Salad (Katchumber salad) Salad:

Serves 4

Prep 20 including Boiling Potato

Ingredients :

  • 1 medium-large purple sweet potato, peeled, boiled, and cooled

  • 1 cup green lentils, rinsed under cool water, cooked with 2 cups of water for about 15, just until al-dente

  • 1/4 cup chopped cilantro

  • 1 persian cucumber, chopped

  • 1 cup cherry tomatos, chopped

  • 1 ripe avocado, diced

  • 1 tablespoon rough chopped pistachio nuts (if no allergy is present)

  • juice from 1/2 of a lime

  • salt to taste

  • optional-chopped mint leaves (we left out for the mini chefs)

Directions

  1. Break the potato into large chunks using your hards (this is a fun job for the mini-chefs) once the potato is cooled.

  2. Place the cooked lentils, cucumber, tomato, avocado, potato, and cilantro in a large bowl.

  3. Add lime juice, salt, and pistachio nuts, toss and serve!

close up kachumber.jpg

Mini rainbow cashew cheesecakes

Spring is in the air (literally) and I am back to working with with the vibrant colors of SuperNaturals plant based food dyes. They use food and plants to create beautiful colors which the kiddos can’t get enough of. Not a sponsored post, just a brand I stand by. They are sold on Amazon and in NYC Whole Foods.

Recipe for mini rainbow cashew (some matcha) cheesecakes

Serving 10

Prep time 20 mins

Freeze time 20 mins

Ingredients

Base Layer:

  • 1 cup gluten free oats, dry toasted

  • 1/4 cup raw pecans

  • 1/4 cup raw almonds

  • 1 cup pitted and soaked dates (soaked in water to soften)

  • 1/4 cup melted coconut oil

  • 1 teaspoon cinnamon

  • 1 teaspoon salt

Cheesecake layer

  • 1 cup cashews ( I can be soaked in water overnight for easier digestion and better blending)

  • 1/2 cup unsweetened coconut cream

  • 1/4 cup melted coconut oil

  • 3 dated, pitted and soaked

  • 1 tablespoon lemon juice

  • pinch of salt

  • natural food dye, like SuperNatural Brand, can also use turmeric for yellow, we used matcha for green, beet powder for pink.

  • Sprinkles optional (I used SuperNatural brand)

Directions

  1. To make base layer, blend all ingredients together in a food processor or high speed blender. When the mix resembles a ball or clumps spoon into a mini muffin pan or small silicon mold and fill up half way (I used a heart shaped mold).

  2. Set in the freezer to take shape while you bake the base.

  3. Mix all ingredients together for the base except the food dyes in a food processor. Let the food processor run for about 5 mins until the cheesecake mix is smooth and creamy. You may need to add more coconut cream.

  4. Divide mix into for small mixing bowls and add food dyes.

  5. Once you have your desired colors, place cheesecake layer on top of base and let freeze for about 20 mins.

  6. Top with sprinkles and serve!

    **These treats to do need to kept either frozen or in the fridge. They will melt at room temp.

Gingerbread Spice Protein Bites

The holidays are here (yay!) and that means extra time with family, wrapping and unwrapping presents, and LOTS of baking. In between the dozens of snowflake sugar cookies, you may need some extra energy in order to get through the holiday baking whirlwind, and that’s where these Gingerbread Spice Protein Bites come into play! They are no bake so you can give your oven a break and they are made almost entirely of nuts, seeds, and spices, so you can add a little nutrition into your or your mini chef’s day. And just because these bites are healthy, does not mean they can’t be pretty enough to sit out like the rest of cookies on the kitchen counter. Use a cookie cutter to shape them into gingerbread men and drizzle on coconut butter for a wintery effect. Once finished, pop them in the freezer for yummy snacks until the New Year. Happy Holidays!

gingerbread protein bar 2.jpg

Gingerbread Spice Protein bars

  • Serves: 10-12

  • Prep time: 15 mins

  • Chill time: 15 mins


Ingredients

  • 1 cup dry toasted pecans

  • ½ cup slivered raw or toasted almond

  • 1 teaspoon flax seeds

  • 1 teaspoon chia seeds

  • 1 teaspoon hemp seeds

  • ¼ cup protein powder

  • 1 cup of pitted medjool dates, soaked in warm water for 20 mins ( you can reserve to the water to use a sweetener for baked good).

  •   2 tablespoon coconut oil, melted and cooled

  • 2 tablespoons of molasses

  • 1 tablespoon of ground cinnamon

  • 2 teaspoons of ground ginger

  • 1 teaspoons of ground nutmeg

  • 1 teaspoon vanilla extract

  • Pinch of salt

Icing

  • 2 tablespoons of melted coconut butter

Directions: 

  1. Process dates in a food processor until the dates resemble a ball. Add the pecans and almonds and process until mixture comes together (about 1-2 mins), leaving some of the pecans chunky. Stop the food processor to scrape the sides. It should be very sticky.

  2. Add the the remainder of ingredients and pulse until combined. 

  3. Transfer dough to a 9x12 baking dish, using your hands press the dough down firmly. I like to make my bars about 1 inch thick.

  4. Place in the freezer to first about for about 15 minutes.

  5. Cut into 10 bars or use a gingerbread person cookie cutter to cut out shapes.

  6. Drizzle melted coconut butter over the bars or gingerbread people.

  7. I like to keep the bars in the freeze wrapped in parchment paper, but they can also be left at room temp.


Warm Asian Chicken Quinoa Salad

Facetune_05-11-2018-10-49-05.JPG

Warm Asian Chicken Salad

  • Serves: 4-6 bowls

  • Time: 30 minutes

Ingredients

  • 2 cups broccoli 

  • 2 cups broccoli + carrot (or any veggie combination) slaw (bought pre-made)

  • 1 1/2 cups shredded chicken breast

  • 1 tablespoon reduced sodium soy sauce + more for topping

  • 1 tsp garlic powder 

  • 1 tsp chili powder 

  • 1 cup white quinoa

  • Crushed cashews (optional)

  • Sriracha (optional)  

  • Sliced avocado (optional)

Directions:

1. Add 1 cup quinoa to a large pot with 2 cups water. Bring to a boil. Reduce to a simmer and cook for 10-15 minutes until all water is absorbed into quinoa. Set aside.

2. Chop 2 cups of broccoli florets into bite sized pieces. Place into a large bowl. Add a small amount of water to the bottom of the bowl. Place in microwave with a large plate covering the top of the bowl. Microwave for 1-2 minutes to soften/steam broccoli. Drain water and set aside.  

3. Add 1 tbsp sesame oil or use cooking oil spray to coat a large pan. Let oil warm up for 30 seconds. Place softened broccoli and 2 cups of slaw in a large pan. Add in chili powder and garlic powder. Let veggies cook for around 5 minutes, until raw slaw is softened. 

4. Add shredded chicken (see recipe below for my favorite way to cook) to pan. Add soy sauce. Let everything cook for several minutes longer then take off stove and transfer to a large bowl.

5. Take 1 cup of the cooked quinoa and combine in large bowl with veggie/chicken mixture. Add more soy sauce for flavor if desired. 

6. Top with crushed cashews (or nut of choice) for some crunch, drizzle sriracha for spice, or slice fresh avocado for creamy coolness. 

7. Can be served, hot, warm, or cold. Refrigerate for a 1-2 weeks. 

Easy shredded chicken

  • Take 1-2 lbs. chicken breast and add to a crock pot with a small amount of water. Cook the chicken on high for 4-6 hours. Remove from crock pot and use a fork to shred chicken.

Spiced Pumpkin Pie Tahini Bliss Balls

October is here and with that comes chillier weather and pumpkin flavored everything! You and your mini chefs may not be pumpkin-obsessed (don’t worry, we aren’t either), but you will definitely fall in love with these Spiced Pumpkin Pie Tahini Bliss Balls. They are so simple to make and are allergy free, so go ahead and pack them in your kiddos lunch all October long.

Once the balls are assembled, have fun rolling them in your favorite toppings like pepitas and coconut flakes. You can even add a spooky Halloween twist to these guys by drizzling them in coconut butter and adding on some edible eyes to create bliss ball mummies!

Once your bliss balls are ready to go, store them in the freezer for up to two weeks.

IMG_5404 2.jpg

Spiced Pumpkin Pie Tahini Bliss Balls - Allergy friendly, School Safe

  • Serves 12-14

  • Prep 10 mins

Ingredients

Dry

  • ¾ cup GF rolled oats

  • ½ cup coconut flour (sub with any GF flour you like, with using coconut only use ¼ cup)

  • ¼ cup roasted pepitas

  • ¼ cup coconut sugar (can sub with any natural sweetener like honey or maple syrup)

  • 1 tbsp chia seeds

  • 1 tbsp pumpkin pie spice

  • 1 tbsp cinnamon

  • 1-2 tbsp chocolate chips (I use the brand allergy friendly Enjoy Life Foods)

  • Dash of salt

Wet

  • ½ cup of unsweetened pumpkin

  • 2 tbsps tahini

  • 1 tbsp coconut oil

Toppings for Rollings Balls In:

  • Roasted Pepitas

  • Unsweetened Coconut flakes

  • Melted Coconut Butter

Directions:

  1. Combine all ingredients together in a large mixing bowl.

  2. Using your hands roll mixture into 1 inch size balls and set on a baking sheet to chill in the freezer for about 10 mins.

  3. Once the balls have chilled roll in your desired toppings!


Curried Cauliflower Samosas

Clean out the fridge and embrace the start of fall with this cozy curried cauliflower samosa recipe. If you’re looking for a way to get your picky eaters to enjoy more veggies, these will be a hit!

The spices in these samosas warm you up after a chilly fall day and give delicious flavor to all the veggies packed into each pocket. The samosas are also super versatile because you can throw in whatever vegetables you have on hand.

Feel free to make as many samosas as you have ingredients for because they will freeze well. Have fun creating these with your mini chefs on the weekend, and school lunches for the rest of the week will be prepped and ready to go! 

To freeze, wait until samosas are completely cooled then store in a freezer safe container for up to a month. Reheat at 375 degrees for about 15 mins or until heated completely through. 

curried cauliflower samosa.jpg

 Curried Cauliflower Samosas

  • Prep: 20 mins plus 60 minutes rest time for dough

  • Cook: 15 mins

  • Serves: 6-8

Dough Ingredients

  • 1⁄2 cup flour

  • 1⁄4 tsp salt

  • 4 tbsp unsalted butter, softened

Filling Ingredients

  • 4 cups cauliflower florets, chopped

  • 2 tablespoon vegetable oil, divided, plus extra for brushing

  • 1 onion, diced

  • 1 1/2 teaspoons freshly grated ginger

  • 2 tablespoons curry powder

  • 1 tablespoon cumin powder

  • 1/2 teaspoon turmeric

  • 1/2 teaspoon ground coriander

  • 1/2 cup water

  • 1/2 cup frozen peas, thawed

  • 1/4 cup finely chopped fresh cilantro

  • salt and pepper to taste

Directions

For the dough:

  1. Whisk together flour and salt in a large bowl. Add butter, and using your fingers, rub into flour until pea-size crumbs form.

  2. Add 6 tbsp. warm water and mix with your fingers until dough forms.

  3. Transfer to a work surface, and knead until dough is smooth and elastic.

  4. Cover with plastic wrap, and chill for 1 hour or up to 24 hours.

For the filling:

  1. Heat oil in a 12" skillet over medium heat. Add onion, and cook until lightly browned, about 8 minutes. Add cauliflower, peas, cilantro, ginger, and 3 tbsp. water;

  2. Cover and reduce heat to medium-low. Cook, stirring occasionally, until peas are soft, about 5 minutes.

  3. Add curry, cumin, and salt, and cook, stirring, until cauliflower is browned, about 5 minutes.

  4. Remove from heat, and set filling aside to cool completely.

To assemble samosas: 

  1. Knead the dough lightly again. Divide into 6 equal pieces and roll each into a smooth ball. Keep the dough covered with damp towel to keep from drying out. Flatten the ball and place about tablespoon of filling in it.

  2. Fold it in a triangular shape sealing with a little water. If you are feeling fancy, you can seal the edges with a fork.

  3. Heat oil in a pan. Working in batches, fry the samosas till golden brown.

  4. Drain the excess oil and serve hot.

Coconut Carrot Cake Muffins

If you’re looking to satisfy your little one’s sweet tooth while also packing in their daily dose of fruits and veggies, give these coconut carrot cake muffins a try. The oat flour base adds a good amount of protein to keep bellies full and the chia seeds deliver lots of fiber and omega-fatty acids.

The muffins are made without nuts so they are allergen free and safe for schools, making them a great on-the-go breakfast and school lunch staple. The sweet coconut flavor hides the taste of carrots and zucchini so even the pickiest of eaters will enjoy these. An added bonus is that the muffins can be frozen for up to 3 months. Make a big batch at once to make future breakfasts, lunches, snack times a breeze.

unnamed.jpg

Coconut Carrot Cake Muffins

  • Servings: 18-20
  • Prep: 15 mins
  • Cook: 15-20

Ingredients:

Dry

  • 1/4 cup coconut flour
  • 1 cup either almond or oat flour (almond if allergic or oat if school does not allow nuts)
  • 1 teaspoon baking powder
  • ½ teaspoon baking soda
  • 1 teaspoon cinnamon
  • 1 tablespoon flaxseed
  • 2 tablespoons of chia seeds
  • ½ teaspoons salt
  • ¼ cup honey
  • ½ cup dried cranberries

Wet

  • 2 very ripe bananas mashed
  • ⅓ cup plus 2 tablespoons full fat coconut milk, just the cream
  • 1 tablespoon pure vanilla
  • 1 cup grated carrot
  • ½ cup grated zucchini
  • 3 eggs

Directions:

  1. Preheat oven to 375 degrees F and prepare a muffin tin with coconut oil or coconut spray.
  2. Combine dry ingredients into a large bowl. Mix until well combined. In a separate bowl whisk the eggs and coconut milk. Add the mashed bananas and vanilla. Mix until all combined.
  3. Add the wet ingredients to dry ingredients and stir together until all moistened. Add in carrots and zucchini. You will have a thick dough.
  4. Spoon batter into a muffin tin. Muffins will be smaller than usual. Bake for 20-25 mins until golden on top.
  5. Muffins can be stored in the fridge for up to 4 days in a single layer in an airtight container. I light to keep one paper towel on the bottom and one the top of the muffins to keep the moiste.
  6. To Freeze: Let cool completely and store in an airtight container for up 3 months. When ready to serve either, heat in an oven or toaster oven until warm at 350 degrees F. Can be warmed in the microwave until heated all the through.

Super Powered Banana Bread

Inspired by Alison Wu's beautiful banana bread that she made with Simple Mills gluten and grain free banana bread mix, we decided we needed to make our own TTK version! Instead of using the store-bought mix, we created our own flour blend with flax seeds. Flax is so good for the body in many ways (hence the "super power" of this bread), but it specifically helps with boosting the immune system and decreasing risk of eye disease. 

This bread is healthy enough to eat for breakfast, but delicious enough to serve as a decadent dessert. It is also an easy preparation process, so as always, your little ones can get involved in most of the steps! Once the banana bread is baked and cooled, we recommend topping it with banana "nice cream" and some in-season fruits for an extra yum factor! We topped ours with nice cream, honey, peach slices, crushed pistachio, and dried rose petals. 


Super Powered Banana Bread

  • Prep time: 15 mins
  • Cook time 30 mins
  • Serves 8-10

Ingredients

  • ¾ cup almond flour
  • ¼ cup coconut flour
  • 1 teaspoon baking powder
  • ½ teaspoon baking soda
  • 1 tablespoon arrowroot powder
  • 1 teaspoon chia seeds
  • 1 teaspoon flax seeds
  • ¼ cup coconut sugar
  • 1 teaspoon cinnamon
  • Pinch of sea salt

Wet ingredients

  • 2 eggs
  • 2 very ripe bananas
  • 1 teaspoon vanilla
  • 3 tablespoons melted  coconut oil

Optional Toppings:

  • Honey
  • Chopped Pistachios
  • Sliced Peaches
  • Banana “Nice Cream”
  • Almond Butter
  • Jam

Directions

  1. Preheat oven to 350 degrees F.
  2. Grease an 8 x 4 baking loaf and set aside.
  3. Whisk eggs with coconut oil and vanilla. Mash bananas with a fork into the mixture.
  4. Add dry ingredients to same mixing bowl and stir to combine. Mixture should be slightly runny.
  5. Add mixture to baking loaf and bake on middle rack.
  6. Check after 30 minutes by sticking a toothpick in the the middle. If it comes out dry, the bread is done. If the toothpick comes out with batter, place back in oven for another 5-10 minutes, depending on oven.
  7. Enjoy plain or top with your favorite toppings!

Curried Veggie Meatballs

Looking for a fun and unique meal to pack for your kiddos during their first weeks of school? Try these curried veggie meatballs! They are a simple and easy lunch for kids, they freeze well (so future lunches will be a breeze), and they pack in tons of nutrients from the veggies and protein from the quinoa and chickpeas. The curry adds in lots of flavor to the grains and veggies!

These meatballs are also a really fun meal to make with your own mini chefs. Once you have all the ingredients mixed in the food processor, have them use their hands to roll together the meatballs. This recipe is definitely going to be one you and your kids will want to revisit all year long! 

curried veggie meatballs-1.jpg

Curried Veggie Meatballs

  • Serves: 4-6
  • Prep time: 25 minutes + 15 minutes baking 

Ingredients

  • 1 cup cooked and cooled quinoa (make sure it's cooked and completely cooled before using)

  • 1 15-oz can chickpeas (rinsed, drained, and dried)

  • 1 tbsp avocado or coconut oil (omit if avoiding oil)

  • 1 pinch Sea Salt

  • 2 tbsp curry powder

  • 2 tsp cumin

  • 1 tsp turmeric powder

  • 1 1/2 cups small diced, peeled sweet potatoes

  • 1 Tbsp avocado or coconut oil (plus more for cooking burgers)

  • 1 pinch sea salt

  • 3-4 tbsp water

  • ¾ cup gluten free breadcrumbs

  • ½ cup onion, chopped

  • 2 tbsp fresh minced ginger, minced

  • 4 cloves garlic, minced

  • 3/4 tsp sea salt

  • 1/2 cup chopped fresh cilantro

Directions

  1. Cook quinoa, or use left over from from a weeknight meal!

  2. Preheat oven to 350 degrees F

  3. Boil sweet potatoes until soft, about 8-10 mins.

  4. Heat oil in pan over medium heat. Sauté onions until translucent for about 5-7 minutes. Add garlic and ginger and cook for another 2 minutes. Stir continuously, being mindful not to burn garlic and ginger. Set mixture aside.

  5. Add cooked chickpeas, onions, ginger, garlic, salt, curry, turmeric, and breadcrumbs to a food processor and blend for about 30 seconds until a dough forms. Add the cooked quinoa and cilantro if using. If the dough is too loose, add more bread crumbs. Taste to adjust seasoning.

  6. Transfer mixture to a mixing bowl and add mashed potatoes. Stir to combine (it’s important not to add the potatoes to the food processor or they can become gummy when overmixed). Taste and adjust flavor as needed, adding more curry powder for intense curry flavor, salt, pepper.

  7. Divide the mixture into small 1 inch balls, I like to roll in breadcrumbs one last time before a I bake them.

  8. Drizzle 1 tablespoon of oil on top to prevent from drying out. Bake on a lined baking sheet for 15 minutes.

  9. Serve with hummus, tahini, mango chutney, hot sauce, guacamole, or any curry sauce you desire.

  10. Store leftover meatballs covered in the refrigerator up to 3-4 days. If you want to freeze them, either freeze once cooked and cooled OR before they are baked. The meatballs will stay good in a freezer safe container for up to a month. To reheat, place in oven or toaster oven at 350 degrees F until cooked through. 

Watermelon Pizza

Mid-August heat means that it's way too hot to turn on the oven and make traditional pizza, so give this fun fruit version a try! Watermelon pizza is a great way to make sure your kiddos stay cool and hydrated as watermelon is packed with water and good nutrients. They will also have the best time getting super creative with their pizzas. At Tiny Turnips Kitchen, our mini chefs used cookie cutters on the watermelon rounds to punch out shapes like stars and hearts and add to the pizza as toppers. Don't forget to sprinkle on some sweet garnishes like chocolate chips and coconut flakes. This perfect summer dessert is easy, healthy, and most importantly fun! 

unnamed-2.jpg

Watermelon Pizza

  • Prep time: 15 mins
  • Serves: 4-6

Ingredients:

  • 1 watermelon, each round cut into 1'' thick pieces

  • 1 cup greek yogurt or your favorite non dairy yogurt

  • 2 tablespoons honey

  • 1/2 cup of blueberries

  • ½ cup raspberries

  • ½ cup white currents (if at the market)

  • 1 cup of strawberries slices in half

  • 1 cup kiwi, sliced

  • Mint leaves

  • ¼ cup unsweetened coconut flakes


Directions

  1. The watermelon will work as the “crust” for the pizza. Slice into 1 inch rounds and lay flat.

  2. Mix the honey and yogurt together in a small bowl and spread on watermelon as the pizza "sauce." Leave room for the rind to show. 

  3. Sprinkle fruit, coconut, and mint toppings!

  4. Using a sharp knife, divide the round into 4-6 pizza slices.